


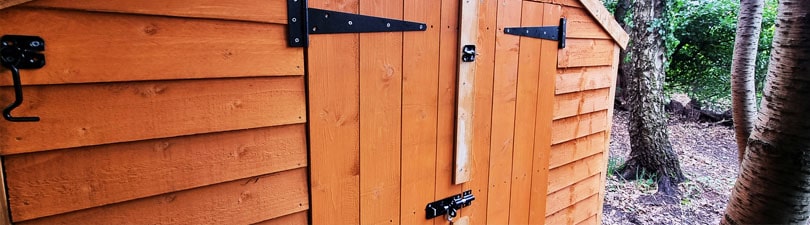


8 Tips for Painting a Garden Fence
16.07.15
Posted By Handle King

Keeping your garden fence maintained may not sound like much fun, in fact it’s a tiring job that will sap the energy of even the most practical of person. But painting or staining your fence and garden gate every couple of years will preserve it for many years to come, not only improving the appearance, keeping the neighbours happy but also adding value to your home. When the time comes though don’t rush out and splash the paint on, take your time and follow our top tips for painting your garden fence from below.
Like with most DIY jobs, preparation is key and the more care you take and time you spend ensuring the preparation work is completed as best as you can, the better the results shall be.
 Strim and Trim
Mow the lawn and get the strimmer out to trim around the bottom of the fence, gate and fence posts, and if you don’t have a strimmer then bring out the edging shears or scissors!
 Debris and Dirt
Using a hard bristle hand brush or broom, brush away debris and dirt from all areas of the fence that shall be painted. It’s also a good idea to sweep away any leaves and grass cuttings from around the base of the fence to stop them blowing up against it during painting.
 Scrape before you Paint
If the old paint is flaking, cracked or chipping, then you’ll need to scrape the fence before moving onto the next step. Use a wide blade paint scraper and coarse sandpaper to smoothen.
 Wash and Dry
Using a pressure washer if you have one, or if not then a garden hose and spray nozzle, wash the fence thoroughly. Keep your hard bristle brush and a bucket of soapy water to hand for any stubborn spots of dirt. For fences that have attracted mildew and algae, apply a diluted bleach solution (1 part bleach to 1 part water) with the hand brush before rinsing clean with the pressure washer and leaving to thoroughly dry.
 Masking or Removal
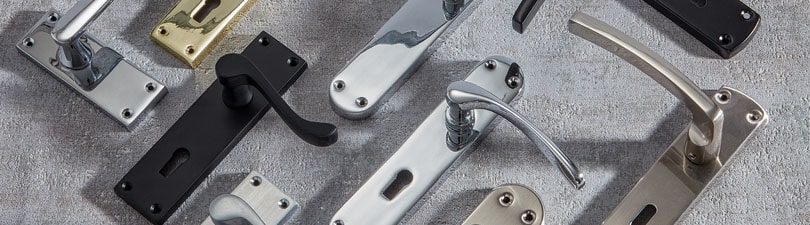
When repainting a fence with a gate, then it’s best to remove the hinges, door handle and barrel bolt. If you’d rather then you can mask off the hardware so that it doesn’t get painted, you can even wrap a small plastic bag over the handle, simply sealing the edges with masking tape.
 Protect don't Forget
Now that you’re almost ready to start painting, lay tarpaulin or dust sheets to cover up the ground below the areas of fence you’ll be painting. This will protect your flower borders, grass, garden decking or whatever lies underneath from getting splattered in paint or stain.
 Trees and Greens
If there are tall shrubs or hedging trees planted close to, or making contact with the fence then place a sheet of plywood or hardboard against them. This will allow for you to squeeze in between the wood and the fence and gently lean back on the hedging keeping it away from the fence whilst painting.
 Paint don't Faint
For best results and to make a tiring job that little bit easier, avoid painting during the heat of the day when the sun will be at its strongest and sun light will cause the paint to dry too quickly, resulting in a patchy finish.
Our final tip for painting a fence although quite an obvious one, is to check the weather forecast and choose a couple of days that are looking dry, the last thing you want is torrential rain, which is when you should be reading our article, DIY jobs for a rainy day.
